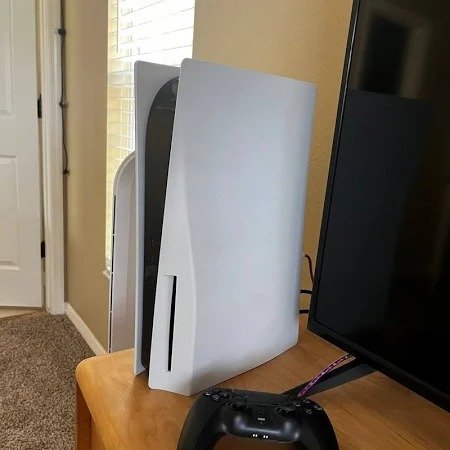
As a proud owner of a second-hand PS5, I was excited to jump into some new games. But one day, while downloading a game, I heard an unnerving sound coming from my console. It was a loud, grinding noise that seemed to be getting worse with time. I even heard the same sound while playing certain games, making me wonder if my disc tray was grinding my disc to dust.
After countless hours on forums like Reddit and toying with settings (please don’t touch your settings yet), I discovered that this is a common issue for PS5 owners. While the cause can vary, it could be due to factory problems, such as faulty firmware, physical damage, glitches, or loose screws.
But don’t worry, there are steps you can take to fix this issue and get back to enjoying your games. In this post, I’ll explore some of the solutions that have worked for me and other PS5 owners. So if you’re experiencing a loud, grinding noise coming from your console, keep reading to learn how to fix it.
Position your Console Properly and Adjust the Side Panel
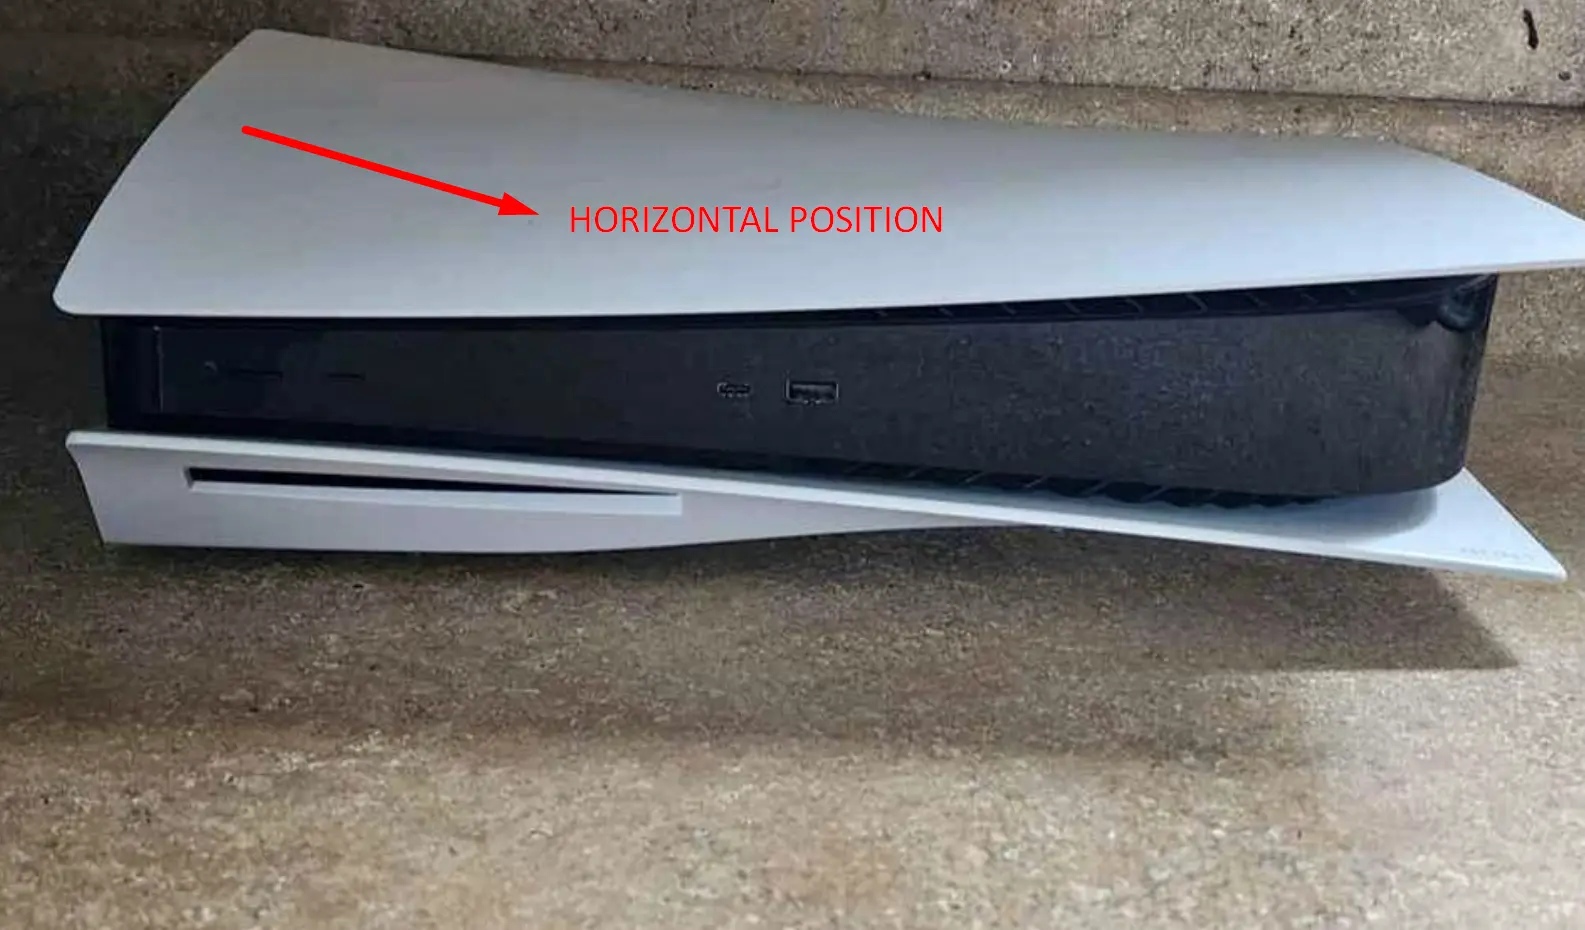
If your console was in a horizontal position, try switching to a vertical position or vice versa to see if that works. Make sure it is placed on the stand correctly. Also, adjust the side panels to reduce the vibration noise from the disc.
Update your PS5
Your game console firmware may be updated automatically, but if this does not happen, do it manually. Some gamers have said that the noise stopped after updating their software.
- Click on Settings
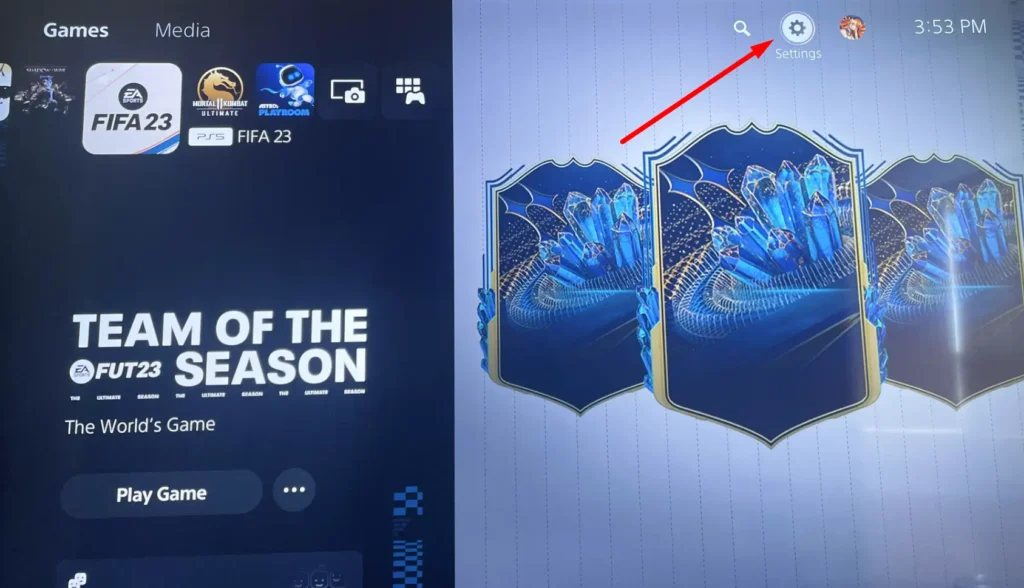
- Navigate to System
- Click on System Software
- Choose System Software Update and Settings
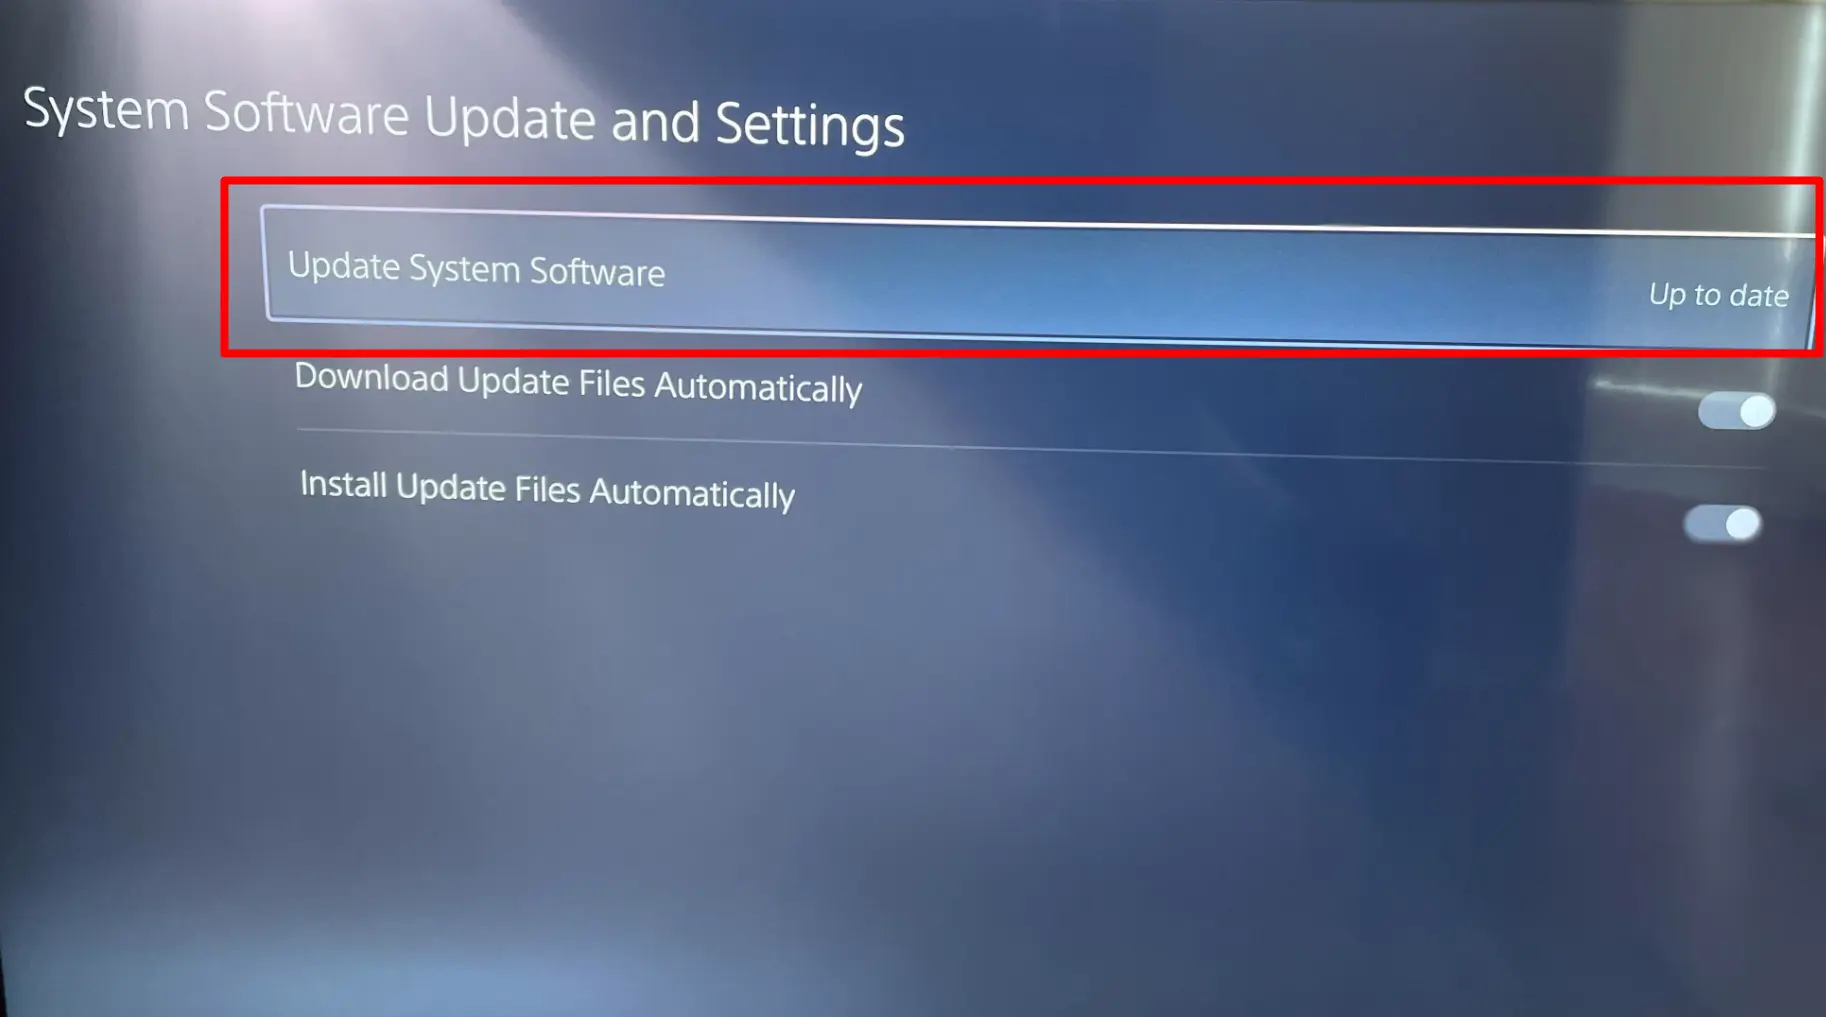
- Then click on Update System Software. At this point, your device will tell you if there is one.
- Once you are at this point, you can also select Download Update Files Automatically and Install Update Files Automatically.
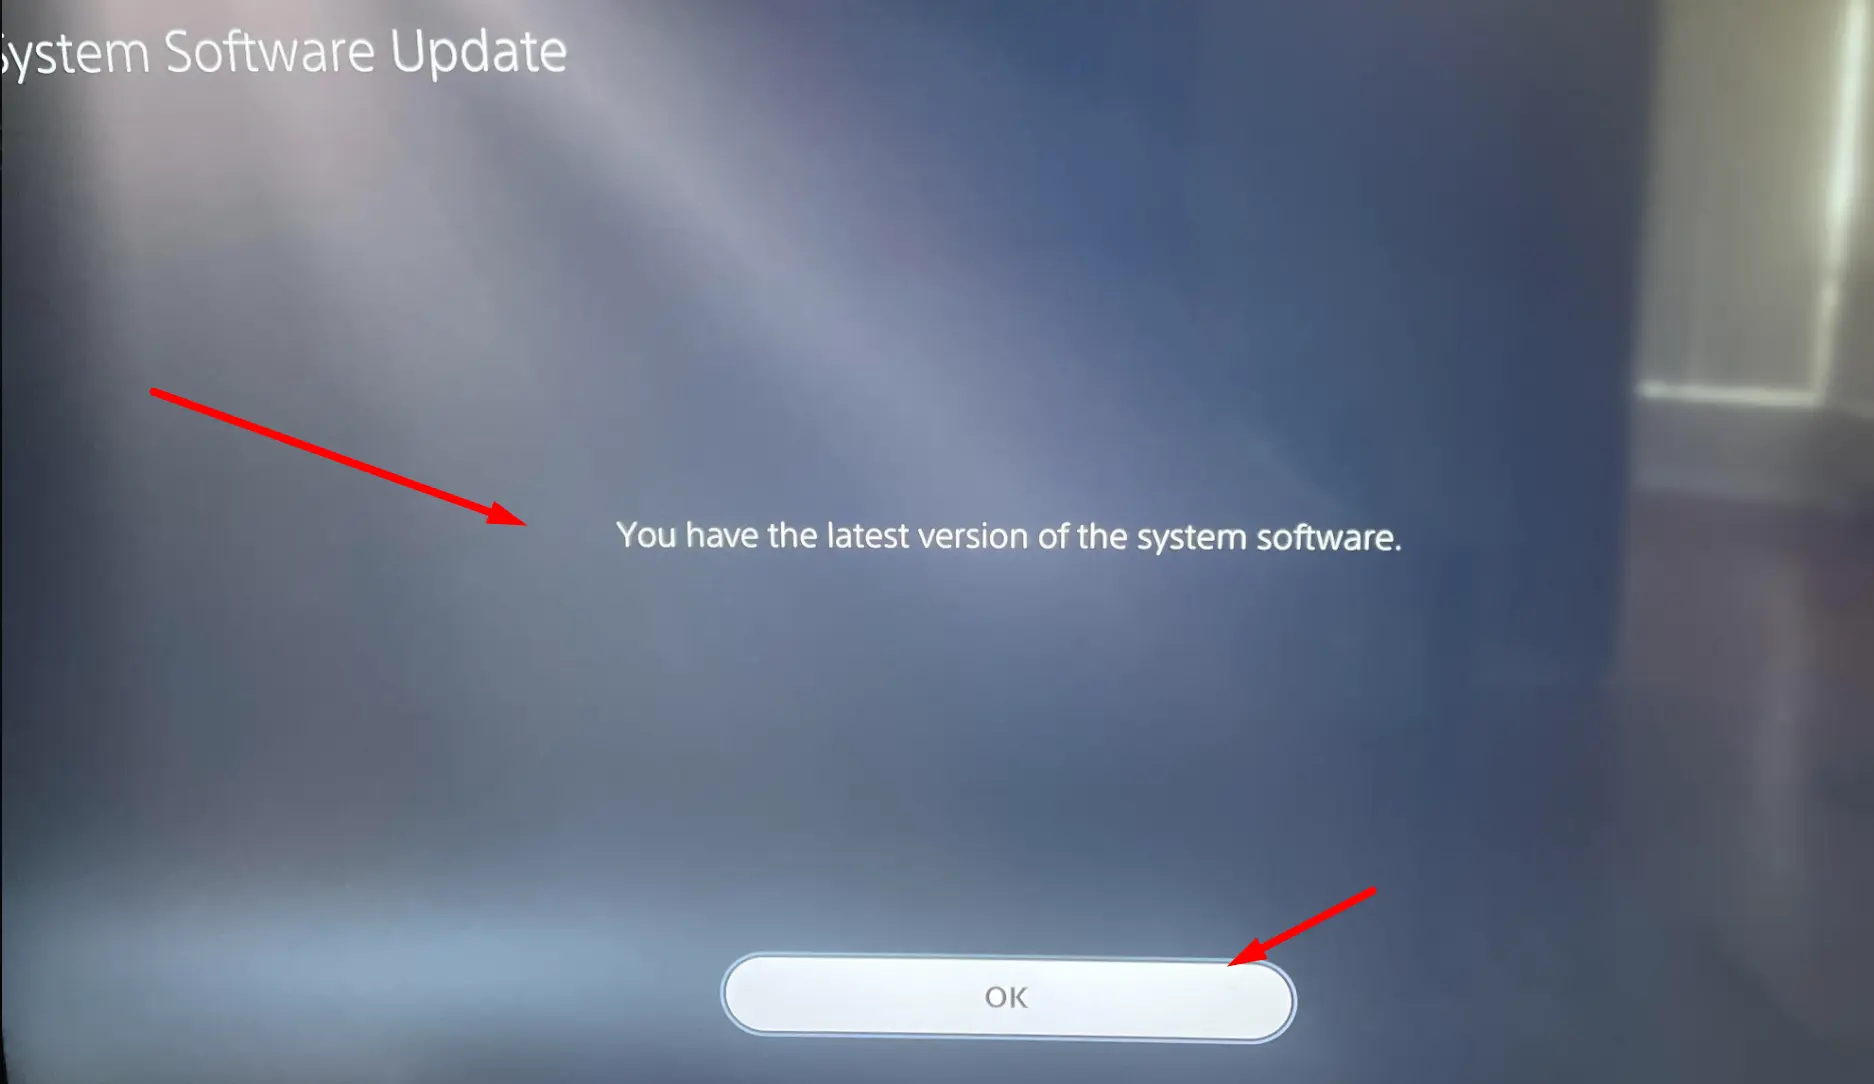
You can now restart your console and try again.
Power Cycle your Console
Power cycling your console can help clear random bugs and temporary files. It will also resolve other power-related issues. To handle this:
- Press and hold the power button to turn it off
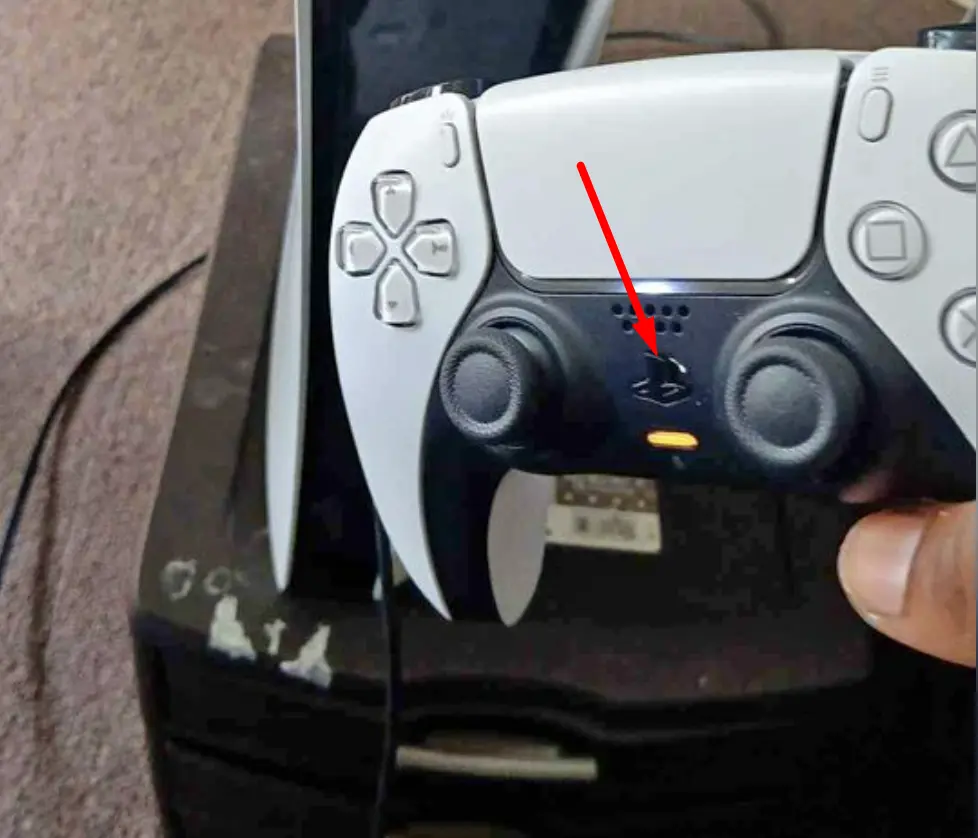
- Unplug all cables and wait for at least five minutes.
- Drain the remaining power off your console by pressing and holding the power button. Then plug back your cables.
- You can now power up your console.
Manually Eject the Disc and Clean the Interior and Exterior Parts of the PS5
The eject button may not work if the noise is from the disc tray while there is a disc in the console. If the eject button fails, remove the disc manually and clean the device interiors.
- Switch off your PS5 and unplug the cables.
- If it has a stand, take it out and lift the bottom faceplate with your fingers. Notice that the PS logo is facing downwards.
- Use a soft brush or cotton heads to clean the insides. Clean it thoroughly, even above the area of the optical drive
- Use a small vacuum or compressed air to clean the fan.
- With a crosshead screwdriver, locate the optical drive’s screw and turn the screw clockwise. You may see this screen beneath a small plastic dust cover in your PlayStation. Remove the plastic cover and do your work.
- Fix a disc in and then move the screw anticlockwise until the disc goes in.
- Fix back the lid. Possibly, you had the issue because the screw was previously stuck.
Before you fix your console, you need to clean the exterior parts. Use a small vacuum to remove the dust around the disc tray and the eject button. You can also use a microfibre cloth or a soft toothbrush to clean the area.
Check the next tip before powering your console.
Adjust the Optical Drive’s Screws
While the console is still in an unplugged state, perform the following steps:
- Take out the stand with the appropriate crosshead screwdriver.
- Place the PlayStation on its back. The PS logo should be facing down.
- With your hands, lift the bottom lid and pull gently from the corners of the console.

- Put thin or small tapes on top of the optical drive and the fan to reduce the noise. Try not to put too much tape on them so that it will be easy for you to shut them back.
- Now, turn the console so the PS logo faces you.
- Lift the lids and put some tape on the body of the console
- Check for the single crew on the body. Get a crosshead screwdriver and move it clockwise to adjust it.
- Now you can put the lid back.
